You need a home inspection to buy, sell, or insure your home. Before you schedule an inspection, you’ll want to check your roof.
The roof is one of the most critical parts of any home inspection, including the four-point inspection required by homeowner insurance companies. A common inspection failure reason is loose, missing, or broken shingles.
The good news is the process of replacing shingles is straightforward and can be done by homeowners with moderate handyman experience. If you don’t know how to replace roof shingles, continue reading below to learn the process.
Why Replace Shingles Before a Home Inspection?
No matter what type of home inspection you’re getting done, the roof will be looked at.
Shingles that are broken, cracked, missing, or otherwise damaged can cause your home inspection to fail. You’ll end up having to replace them anyway if you want to have your home inspection passed. Waiting to fail because of damaged shingles only means more time, frustration, and money wasted.
Find the Damage
The first step to replacing roof shingles is to find all the damage. A few things to look for include:
- Shingles that are old and brittle
- Shingles that have been cracked, split, or otherwise broken
- Spots in the roof where shingles are gone entirely
- Shingles that are curled up at the edges and pulling away from the roof
Finding the damage will tell you how many shingles you’ll need to replace. Find the closest possible match if you can’t find the exact shingles originally used on your roof. Shingles come in sets or packs, so you’ll want to round up on the number you need when purchasing.
If there’s a lot of damage to the shingles, but the roof is otherwise in good condition, it makes sense to replace all of them. If this is the case, you can still follow the steps below but for the entire roof.
Remove the Shingles
Once you’ve found all the damage and purchased replacement shingles and other supplies, you can begin to remove the shingles. You’ll want to work in one section of the roof at a time.
You want to work on your shingles during the coolest point of the day, which is generally early morning. This is because it’s easier to work with cool shingles than it is with hot.
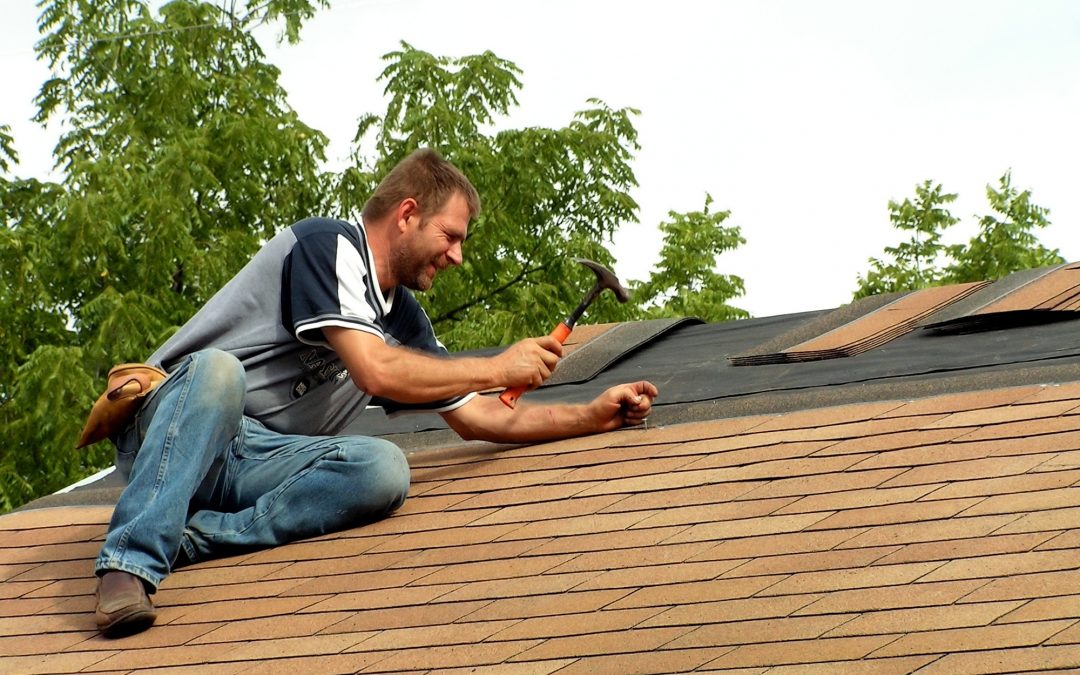
Begin by loosening the shingle adhesive two rows above where the damaged shingles are located. You can use a crow-bar, pry bar, or even the claw of a hammer to get up under the shingles. Work slowly and carefully, so you don’t create more damage.
When you’ve loosened the adhesive, work your tool under the nails holding the shingles in place. Loosen them first, and then remove the nails. If the nails are in good condition, you can save them for reuse.
Repeat the process of loosening the adhesive and removing the nails on the row directly above the damaged shingles. Then you can remove the damaged shingles themselves.
Replace the Shingles
Once the damaged shingles have been removed, you can replace them with the new ones. For this part of the process, you’ll need the following equipment:
- Replacement shingles
- Shingle Adhesive
- Roofing Nails
- Hammer
Once you’ve gathered the necessary items, you can begin to replace the shingles. Place the replacements in the exact position of the ones you removed. You need the shingles to overlap and cover all portions of the roof beneath.
Use the shingle adhesive to press them into place. Next, use the nails to secure the shingle to the roof. Some shingles come with small holes already drilled for the nails, while others don’t. If your shingles are already outfitted with holes, use those.
Once the shingle is nailed into place, you need to reseal the edges. Do this by applying a spot of adhesive glue on the tab about an inch in diameter. Firmly press the tab into place over the top of the shingles in the row below.
Once you’ve replaced the damaged shingles, you can move your way back to the rows above. Replace all the shingles you loosened and pulled away earlier, resealing them as previously described.
Safety Tips for Replacing Shingles
Although replacing the shingles on your roof before a home inspection is a relatively straightforward process, it comes with some significant dangers. You must take all possible safety precautions when working on an elevated surface or with tools.
The following tips can help you stay safe when replacing your roofing shingles:
- If possible, use a roofing harness to secure yourself to the roof
- Never run, jump, or horseplay on top of a roof
- Before climbing up to the roof, ensure the ladder is fully secured
- Since the roof is closer to the sun, use sunblock and full-coverage clothing to protect your skin
- Protect your hands with work gloves
- Always use protective glasses or goggles when working with tools
- If you feel overheated or faint when working on a roof, call for help and get down as soon as is safely possible
These tips can help keep you safe when replacing your roof’s shingles. Whenever possible, it’s also a good idea to work with a partner.
Do You Have More Questions About How to Replace Roof Shingles Before an Inspection?
Replacing your roof shingles before an inspection means a higher chance of passing the first time around. Although the process of replacing roof shingles is straightforward, it does come with certain dangers. Always follow necessary safety precautions when working on an elevated surface like your roof.
Do you have more questions about how to replace roof shingles? Or would you like to schedule a home inspection?
Contact us today. One of our associates would be happy to answer any questions you still have. They can also set you up an appointment if desired.

